Hello All! It’s Emma here, Jill’s kid, and I have decided to take over the blog for today!
I wanted to share with you all a wonderful jam recipe that I learned this past weekend. You see, it turns out that I come from a history of quite avid ‘jammers.’ My grandmother used to have such a lovely garden, and come the season she would end up with literal buckets full of fruit: plums, blackberries, etc. She used this abundance of produce to make enough jam to last the rest of the year and my Mom has wonderful memories of homemade marmalade, plum jam, raspberry jam, and black current jelly.
With this in mind, I decided that it was about time to try and make my own.
Ingredients
(for about to 8oz. jars)
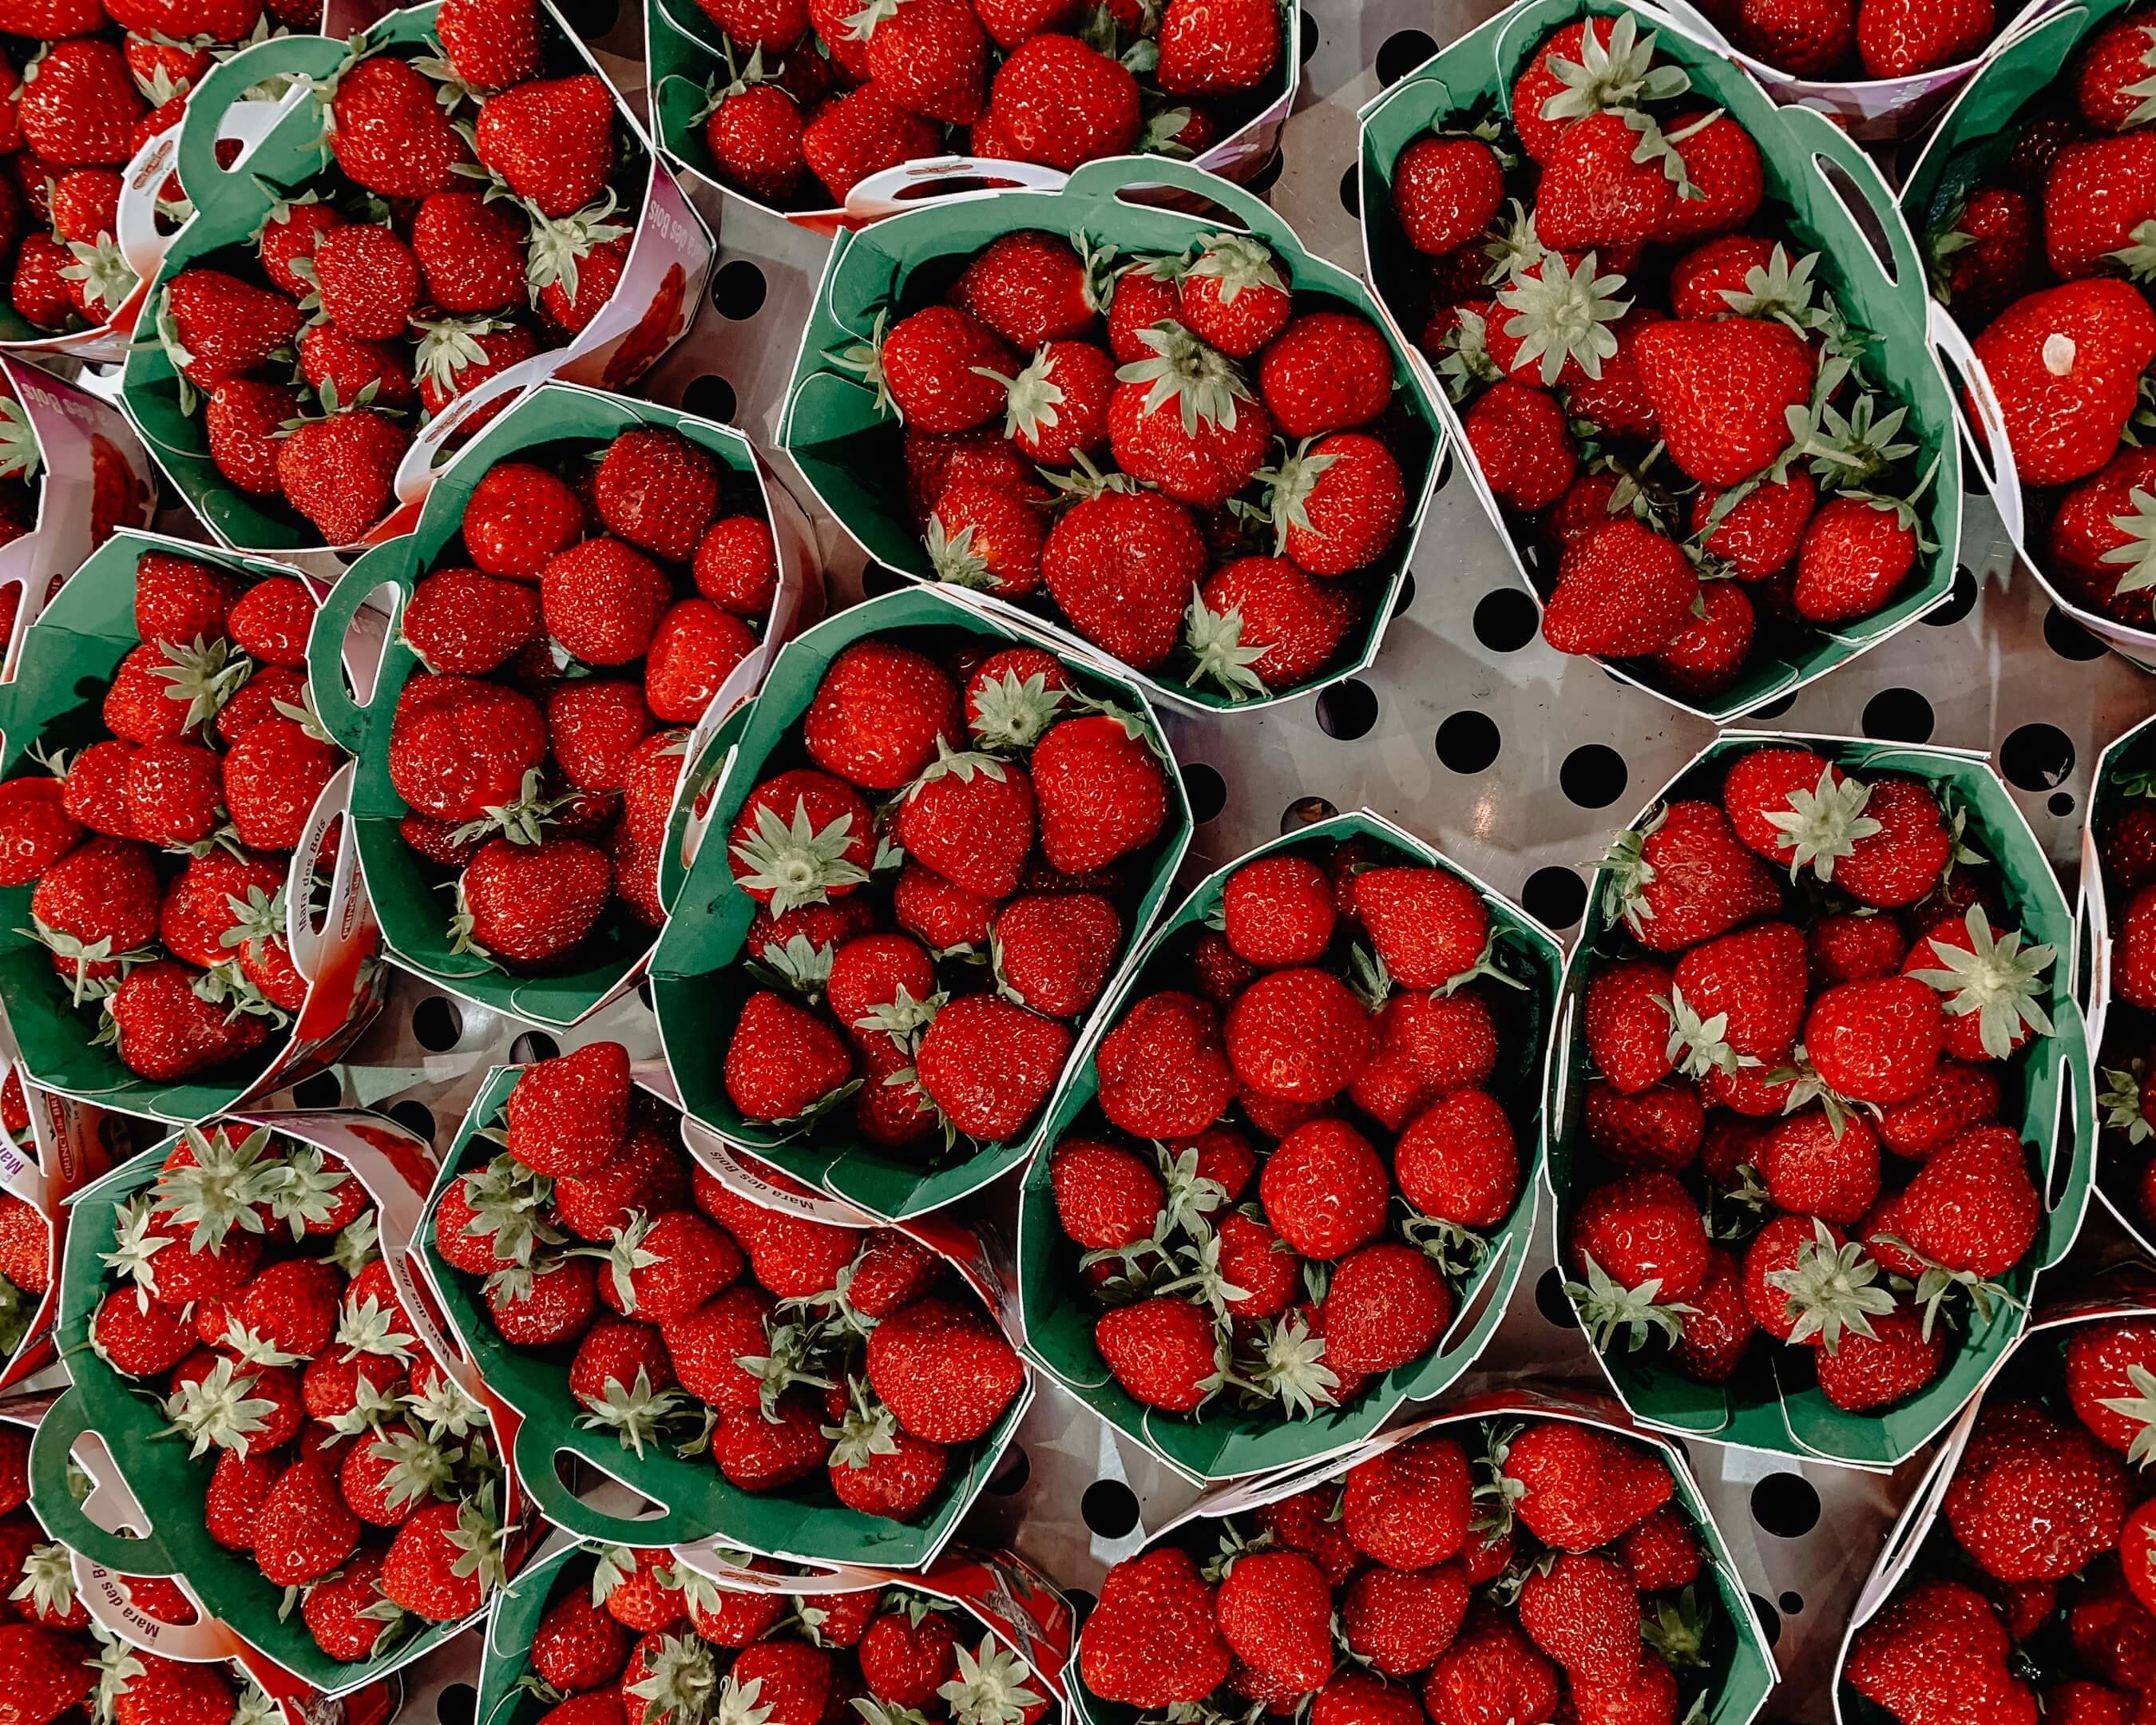
- 1 lb of Strawberries (handpicked, store-bought, or frozen!)
- 1 ¾ cup of sugar
- 1 ½ tablespoon of lemon juice
Now, before I go on any further let me just acknowledge that I know this is quite a large amount of sugar. It acts as a preservative so that the jam can last for as long as possible, and it also helps maintain the lovely color of the fruit. However, there are certainly alternatives to using a mountain of sugar.
So for the same amount of strawberries you could use 1 cup of fruit juice concentrate, this gives a better result than using regular juice. If you were to use regular juice, I would suggest using 1 ½ cups. If you do not have juice at home you can also use about 1 cup of honey. It is important to remember that if you do not use sugar, then you must use a product called pectin. This is a natural product based on apples which helps to thicken the jam. All fruit contains pectin but if you cut down on sugar you need to help the natural pectin along by adding some from a packet.
Recipe
- You have to sanitize the jars that you want to use. You can do this either by keeping them in boiling hot water for 15 minutes, or by placing them in the oven on a very low setting (you don’t want them to crack!) Sanitizing them is really important if you want your jams to be edible for a long time.
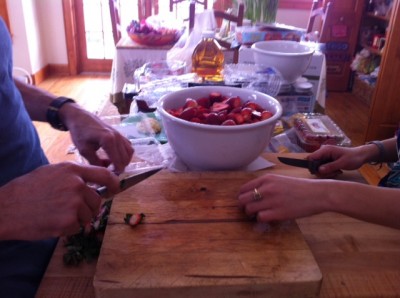
- Gather up your strawberries and cut off the stems. Then you should cut all of the strawberries in half, if there are any particularly large strawberries, you should give them an extra slice. This is a bit of a boring task so its fun to persuade someone to help so that you can chat as you work. Below, as you can see, I enlisted Noah to help with all the chopping.
- Once you have done that, put the strawberries in a pot. It is important to use a relatively deep pot because later on in the recipe we will be bringing the strawberries to a rapid boil.
- Keep them over medium heat until they are mushy and soft. Once you add the sugar (or pectin) the strawberries will stop getting mushy, so it is important that you are sure they are soft enough before you move on.
- Now you add all of your other ingredients and stir it all in. If you are using sugar you should wait until it is all dissolved. If you are using one of the alternatives, use your judgment and wait until it looks completely stirred in.
- Now you turn up the heat and allow the jam to come to a boil. It is important to keep stirring; otherwise, the jam could get burnt on the bottom.
- Unfortunately, there is not a set amount of time that you keep your jam on the stove. However, there are a few ways to figure out when your jam has set, detailed below!
- Once the jam is ready, let it sit in the pot for a few minutes to let it thicken a little bit. Then you can go ahead and start spooning it into the jars! If one of your jars isn’t completely full, then it should be kept in the refrigerator so that it does not go bad.
How to know if your jam has set
- You can use a sugar thermometer (but you don’t have to go out and buy one!) once your jam is between the temperature 219-222, it is ready
- You can put a small amount of very cold water on a clean plate, and then put a tiny dollop of jam in the water. If the jam keeps its form, then it is ready.
- You can get a fresh wooden spoon, one that hasn’t stirred the undissolved sugar, and stir it around until it is covered in jam. If it sticks to the spoon- it is ready!
It sounds pretty complicated, but once you start making it, it all becomes clear! I hope you have fun making this jam! For any Moms reading this, I bet this would be really fun to do with kids! I used to love cooking with my Jill (and in fact I still do). You could make this Yinova Soda Bread and have a little tea party!
